Easy Way to Do Time Lapse With Canon Dslr
Canon School: How to shoot time-lapse video with a Canon camera
Welcome to our new Canon School tutorial series part 10, in this tutorial we explain all you need to know about capturing and creating time-lapses.
Time-lapse is a creative technique that enables you to show how a subject or scene changes over time. You can compress minutes, hours and even days into just a few seconds, and reveal a world of movement and motion that might otherwise be too slow to see in real-time. The concept is easy to grasp – take photos at regular intervals and then combine them in a video clip – but there are a few tricks to setting up your camera so that you end up with professional-looking results.
You can, of course, go back to basics and take the time-lapse images yourself, manually timing the interval between each shot. This obviously only suits a subject where the change you want to record in the time-lapse occurs over a short time period. It's a tedious way of doing it, but it does at least give you control over the process, allowing you to alter the image settings while you shoot, and or increase or decrease the number of frames you take in order to selectively slow down or speed up the action at points in your final film.
• Best Canon cameras (opens in new tab)
Fortunately, newer EOS cameras now feature a built-in Interval timer or a Time-lapse Movie shooting mode that can automate the whole process for you – including the EOS Rebel SL3 (opens in new tab), EOS 250D (opens in new tab), EOS 850D, EOS 80D (opens in new tab) and EOS 5D Mark IV (opens in new tab). There are also a number of wired and wireless intervalometers available, which allow you to set the number of shots and the interval between them without touching the camera. Canon even has one of its own, the TC-80N3 Remote Control (opens in new tab) , designed to work with older EOS bodies.
• See also: Best timelapse cameras (opens in new tab)
(opens in new tab)
1. Interval timer vs Time-lapse movie
While the EOS 250D and EOS M50 just have a Time-lapse Movie mode, a number of other EOS cameras also have an additional Intervalometer option for shooting stills. Both of these functions work in basically the same way, allowing you to choose how many pictures to take and the gap you want between each one. The main difference is that the camera automatically creates a video clip for you in Time-lapse Movie mode, with the Intervalometer saves each individual picture to the memory card – you create the movie in software later.
There are advantages and disadvantages to each option. You get more flexibility with the Intervalometer, as you can choose to turn the images into a time-lapse film or do something creative with the stills – such as combining a few of them in a single image to illustrate the passage of time. You can also choose to shoot Raw files, use flash, playback your images and make adjustments between each picture, such as tweaking the focus, exposure, white balance and Picture Style. But you will be sit in front of a computer for a lot longer…
Time-lapse Movie mode keeps it simple. The image is automatically cropped to the standard aspect ratio for video playback and you end up with a movie you can share instantly. The downside is that you don't get as much flexibility when it comes to shooting. You can't use flash for example, and you can't change your mind about the camera settings once you've started recording.
(opens in new tab)
2. How many shots for your time-lapse?
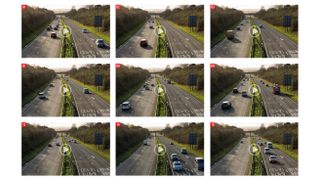
Recording time and playback time are two crucial aspects to consider when you're setting up your camera to shoot a time-lapse. The speed of the movement you want to capture will determine the interval you should use between each picture. If you're photographing a slow-moving subject, such as a flower blooming or wilting, then you'll need to leave a gap of multiple minutes between each shot. But if you're shooting a landscape on a windy day, then you may need to work in much smaller increments of just a few seconds so that the motion of fast-moving clouds plays back smoothly in the final movie.
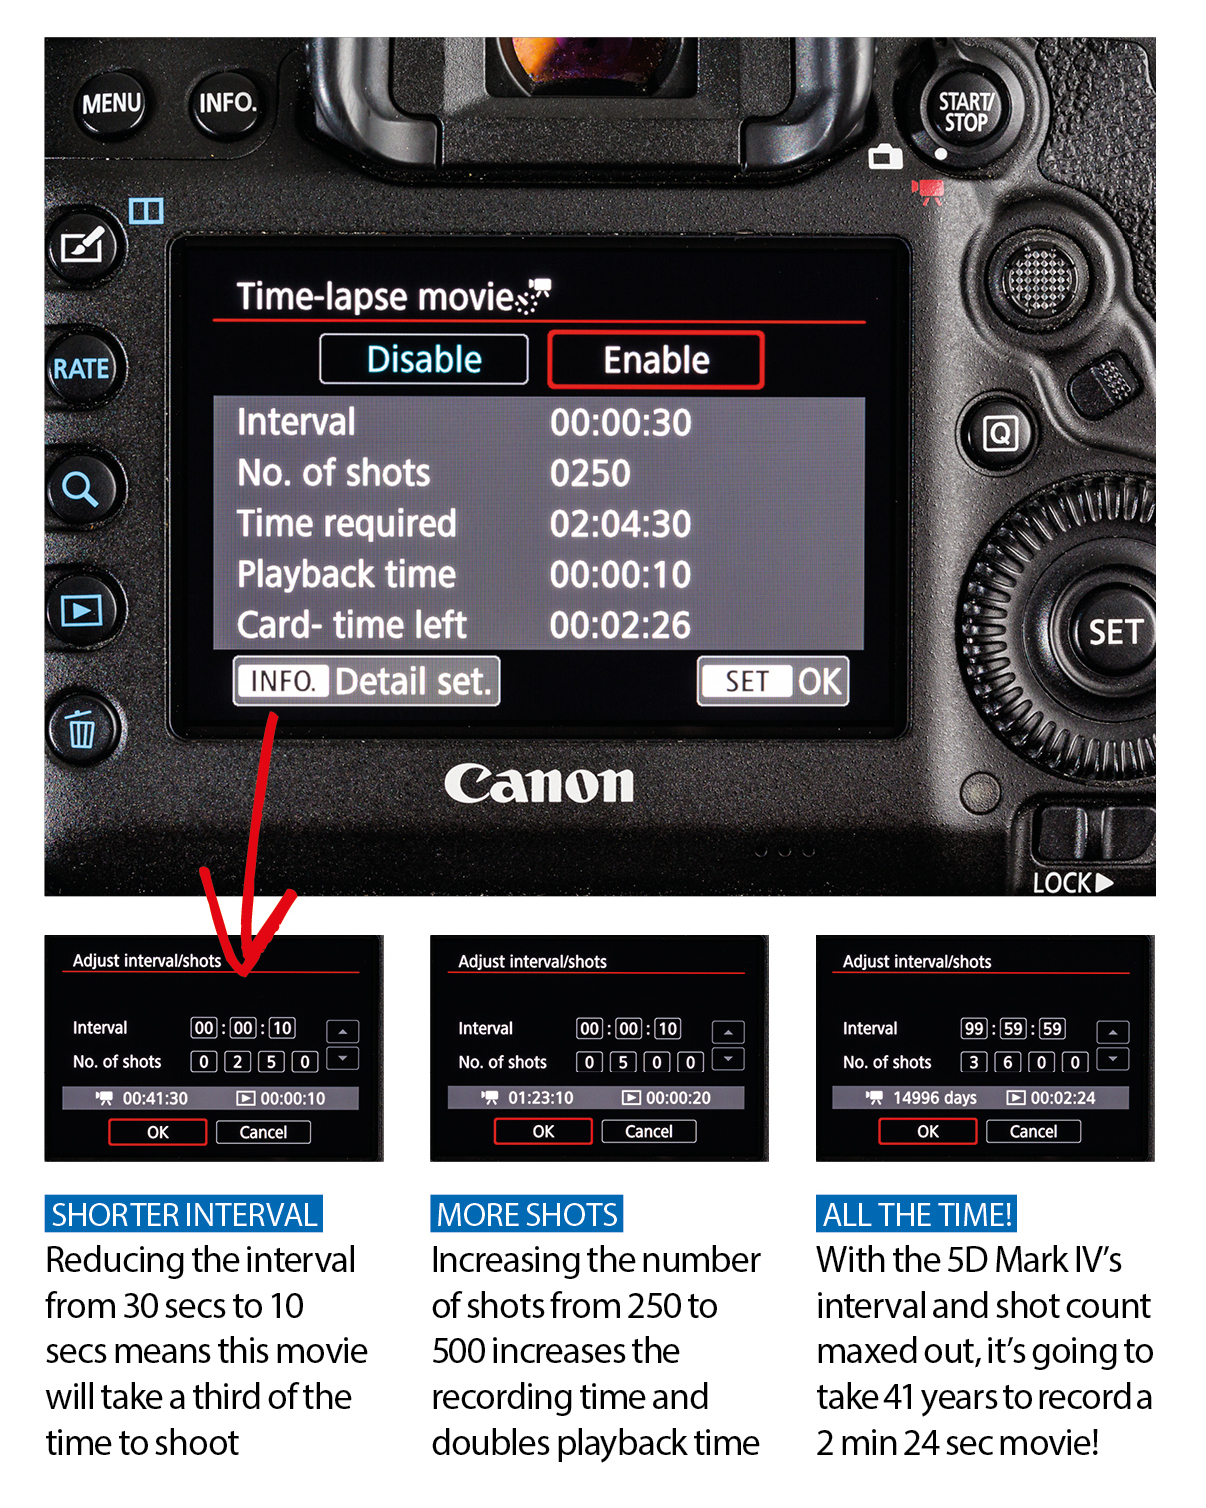
The interval you choose will also have an impact on how long the time-lapse will take to record. When you enable Time-lapse Movie shooting in the camera's menu, you can see the recording time change when you adjust the interval.
The number of shots you choose to record will affect both the recording time and the playback time. Again, you can monitor this when you set up the Time-lapse Movie mode in the camera's menu. As you increase both the interval and the number of shots, the recording time can jump.
The playback time is based on how many frames it takes to fill one second of footage at standard playback speed. If your camera is set to PAL video system in the yellow Set-up menu, then it's 25 frames per second, and if it's set to NTSC it's 30 frames per second. So to create a ten second time-lapse movie, you'll need to shoot 250 or 300 frames!
(opens in new tab)
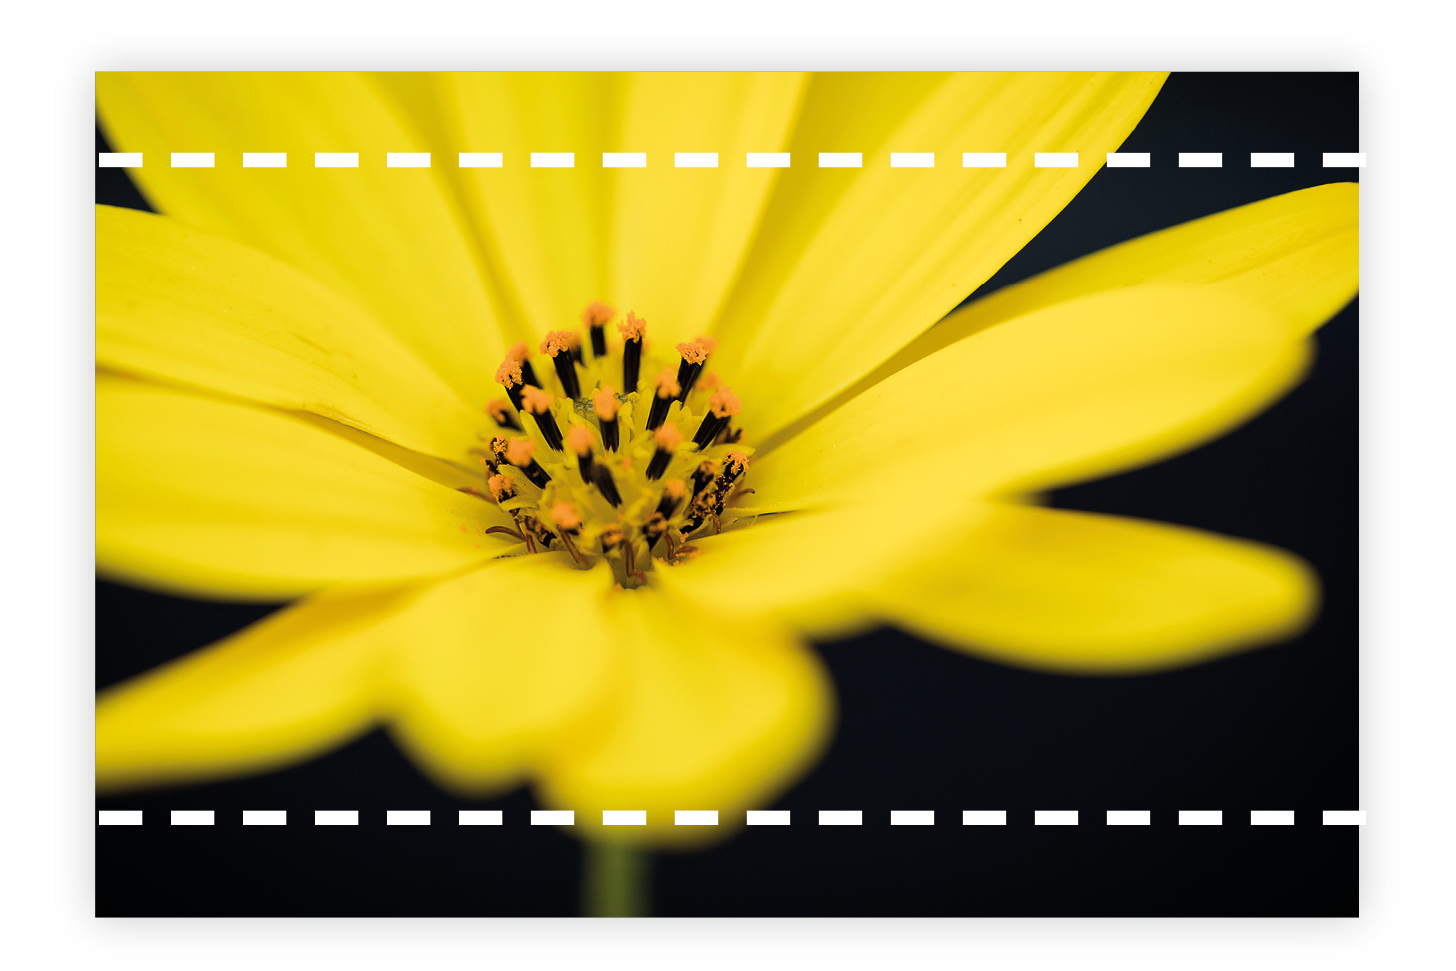
3. Subjects that show the passing of time
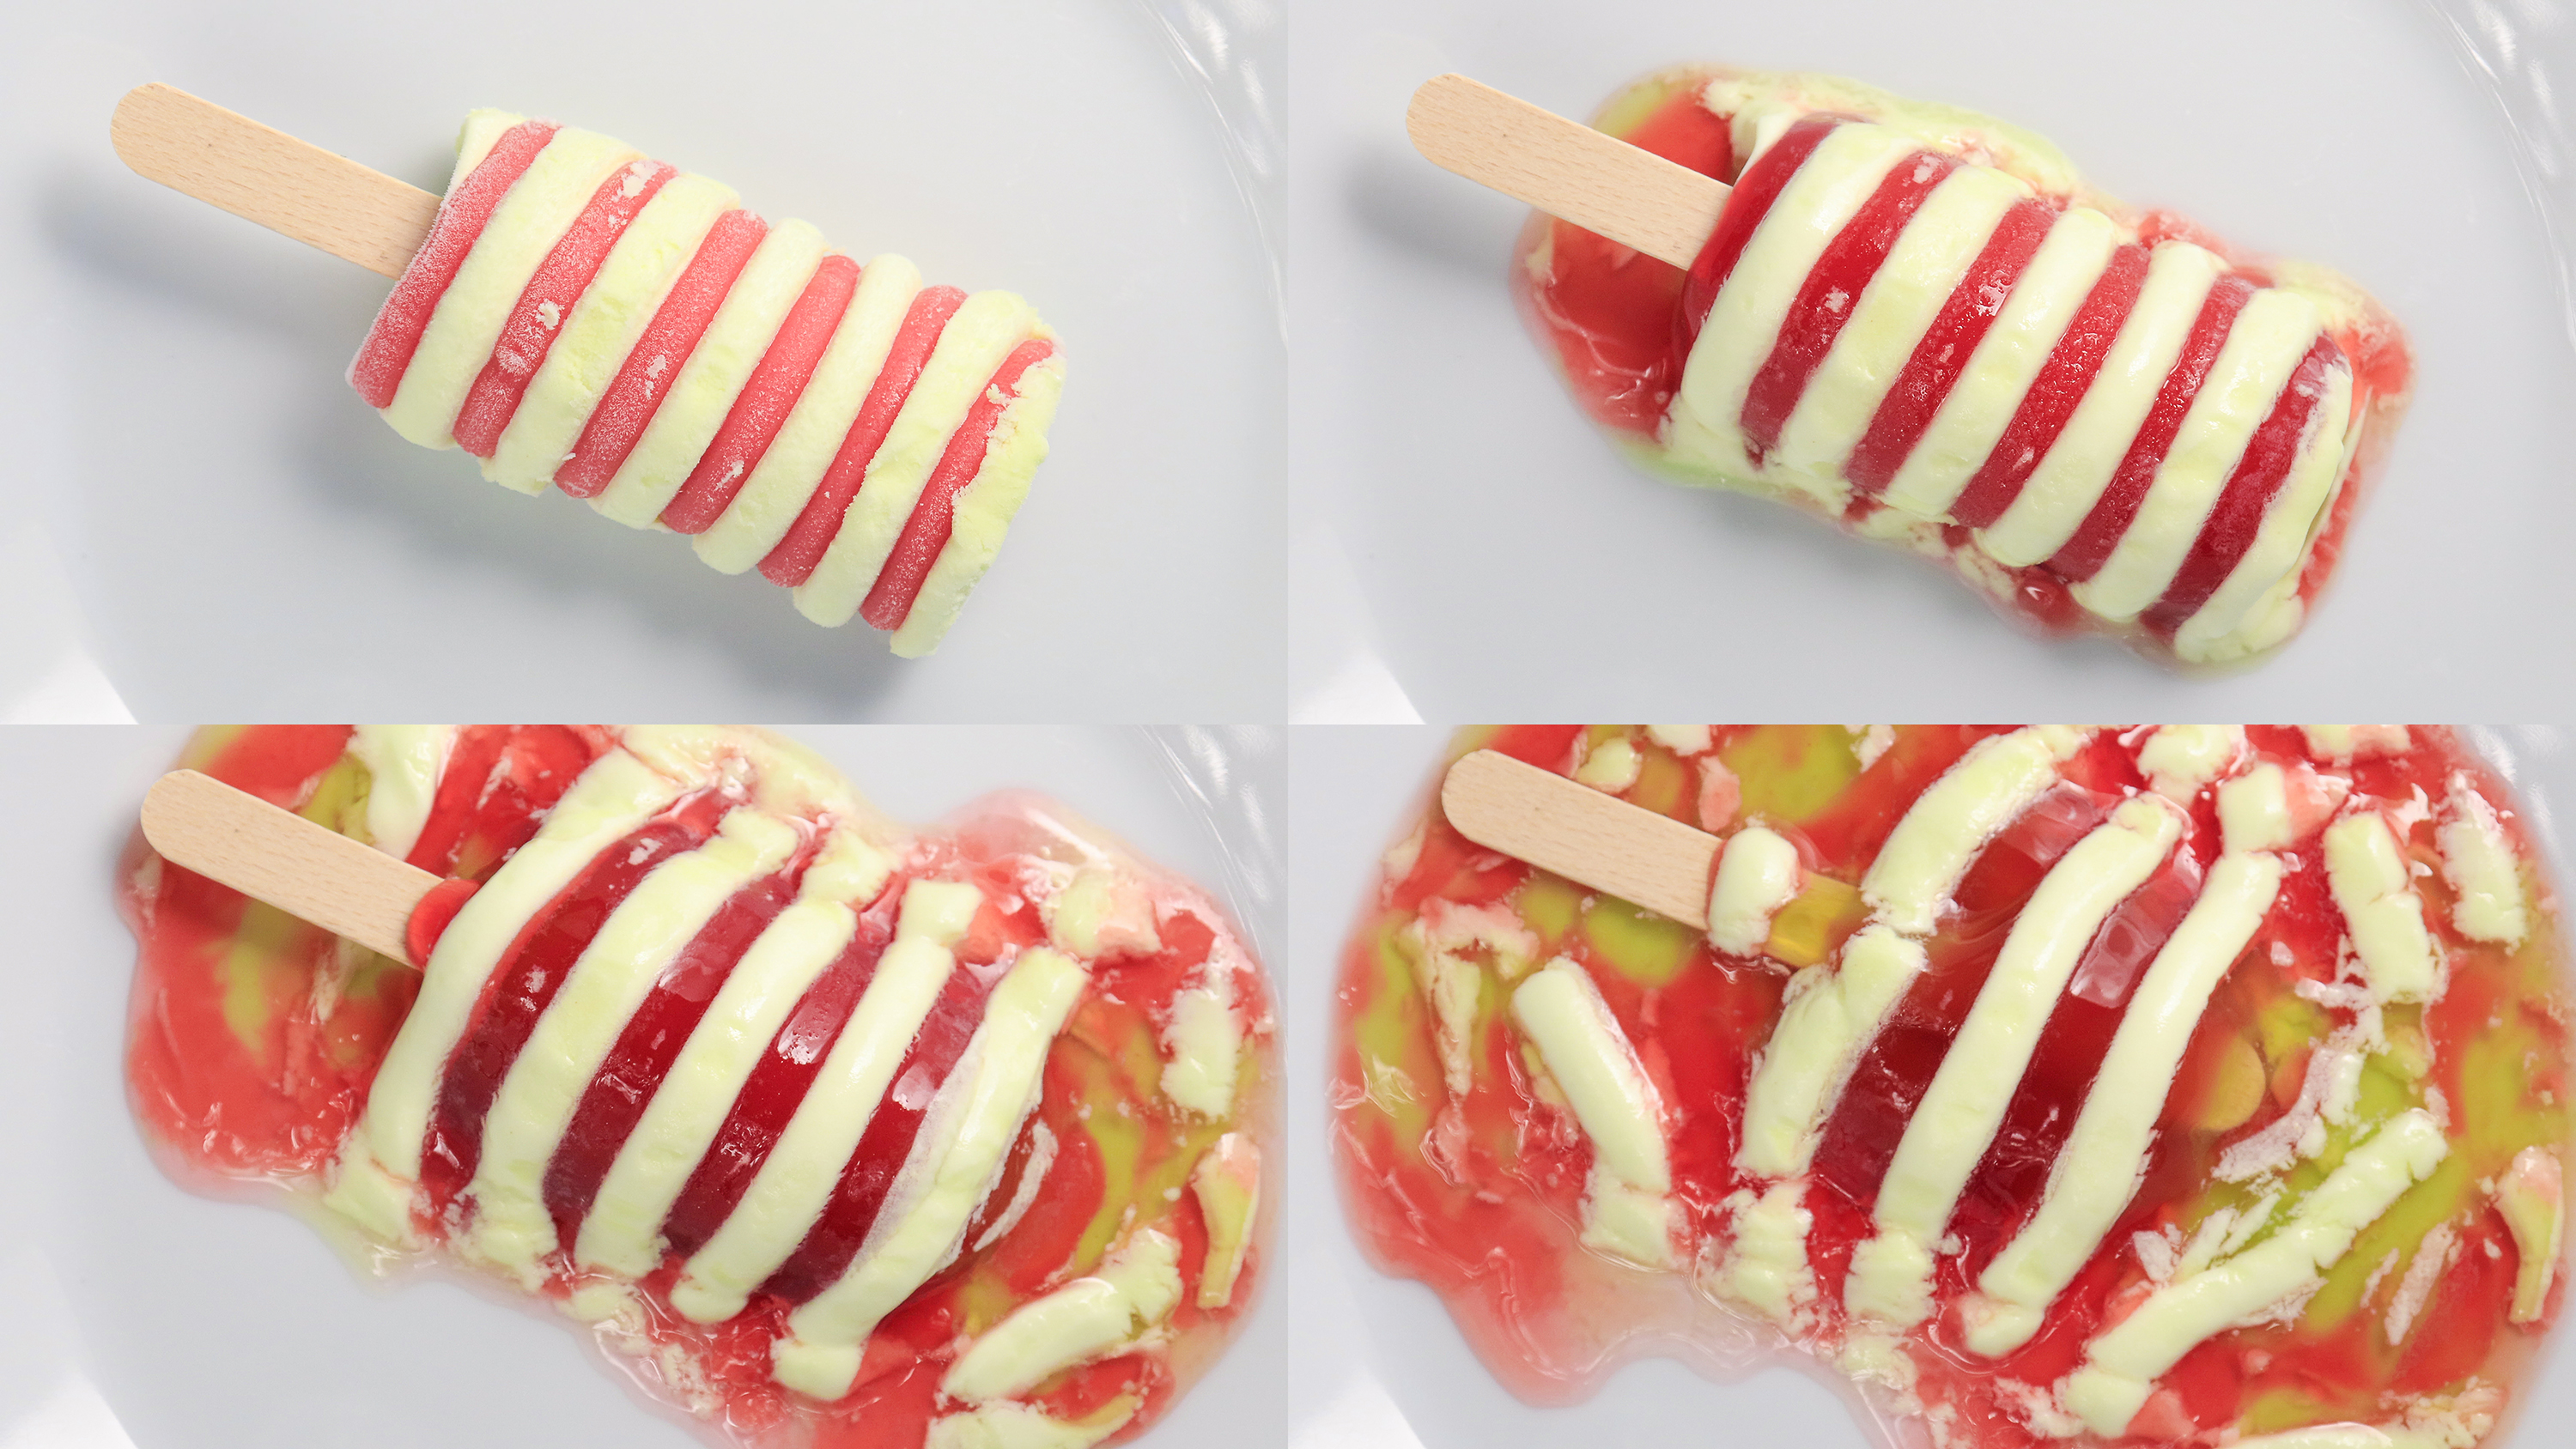
The world really is your time-lapse oyster, and there are a host of diverse subjects that suit this technique. Something simple like ice cubes or ice cream melting, the comings and goings of your family and pets around your kitchen, or a plastic model being built are good starting points.
Regardless of the subject, it's a good idea to try and envisage the start and end points for your time-lapse sequence, as this will determine how you frame the shot initially. If you're shooting a flower coming into bloom, for instance, then try and picture where the petals will be positioned when they are fully open, so that you can leave enough room in the image. The same goes for sunrise or moonrise – where will the sun or moon end up at end of the film? It can help to start and stop filming beyond the point at which you want the time-lapse to start and finish, as this gives you a little headroom if you want to edit your video in software later.
Whether you shoot indoors or outdoors, the quality and quantity of lighting is just as important as it is when you shoot a regular photo. If the lighting changes from shot to shot, then you'll end up with some flickering in the final movie. While this might look natural in an outdoor shoot, it can be distracting if you're shooting a still-life set up. You may want to consider setting up in a darkened room and using artificial light to provide more consistent illumination.
Read more:
Canon DPP: Canon Digital Photo Professional tutorials (opens in new tab)
The best cheap Canon camera deals: get the best prices on Canon gear (opens in new tab)

Thank you for reading 5 articles this month* Join now for unlimited access
Enjoy your first month for just £1 / $1 / €1
*Read 5 free articles per month without a subscription
Join now for unlimited access
Try first month for just £1 / $1 / €1
Related articles
wilkersonnour1977.blogspot.com
Source: https://www.digitalcameraworld.com/tutorials/canon-school-how-to-shoot-time-lapse-video-with-a-canon-camera
0 Response to "Easy Way to Do Time Lapse With Canon Dslr"
Post a Comment